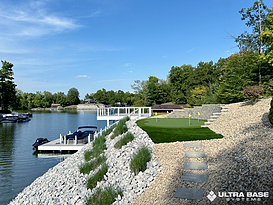
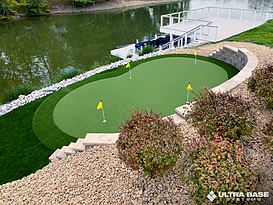
How to Build a Backyard Putting Green
With Ultra Base Players Series Putting Green Kits
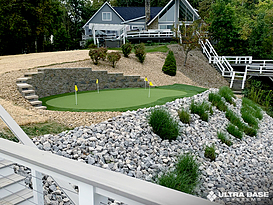
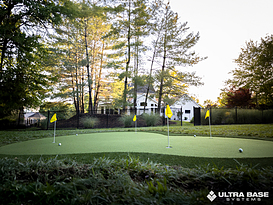
Practicing your short game in the comfort of your backyard can now be a reality with the Ultra Base Players Series Putting Green Kits. Whether you're installing yourself or having your local landscaper install for you, this backyard putting green kit can be installed in a day and provide hours of putting practice. Let's walk through the installation guide for the putting green kits.
Preparation
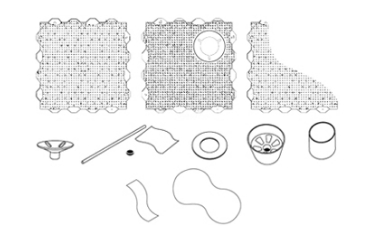
Items Included
- Three types of panels - full panels, panels with hole, pre-cut panels
- Pre-cut turf
- Pre-cut fringe
- Retriever Base
Preparation
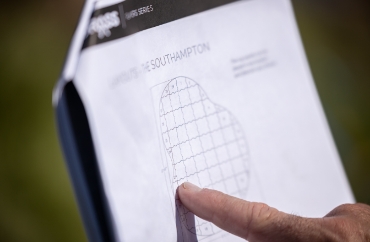
Installation Layout
Be sure to review the installation layout you receive with your kit. This layout will show you how to position the pre-cut panels along with the pre-cut fringe turf. Each item in your kits will be labeled accordingly. This article details the layout of the Southampton Ultra Base Players Series putting green kit.
Site Preparation
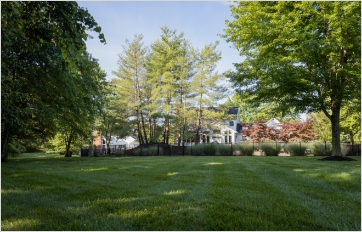
#1
Find a site that is relatively flat, ideally with no more than 3% slope.
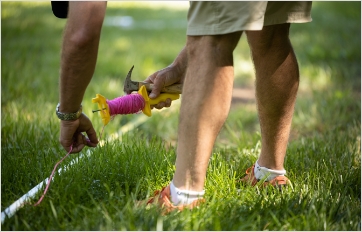
#2
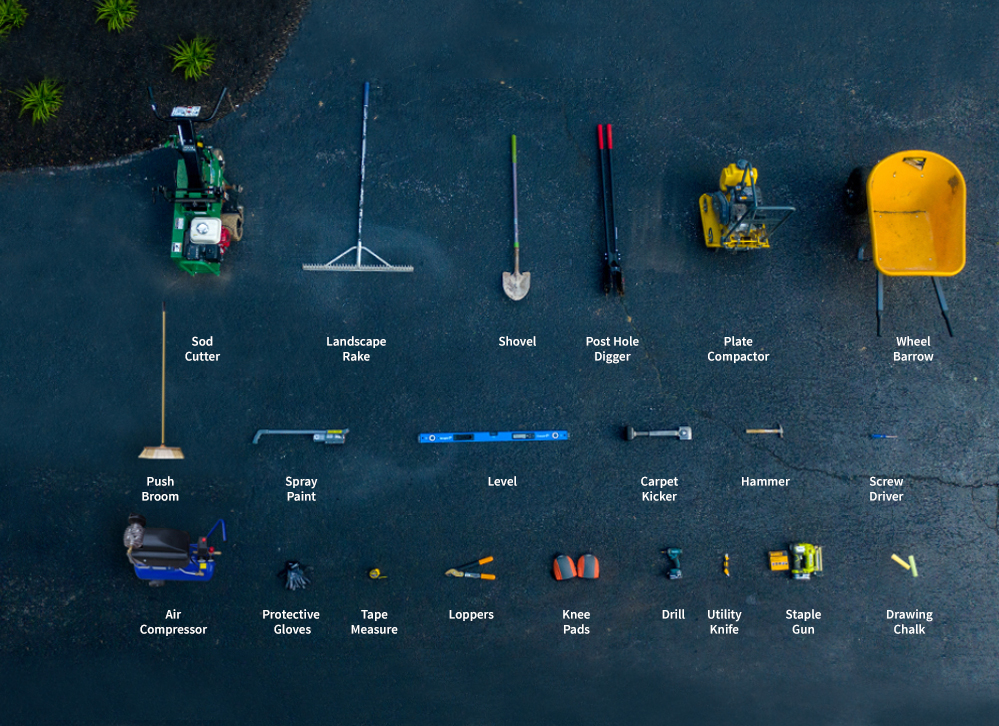
Measure and mark your kits outline with spray paint.
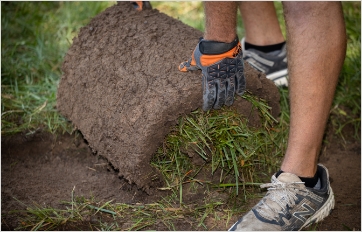
#3
Use sod cutter (if necessary) to remove organic material within outlined location. Remove the grass and place to side. Depending on how you choose to finish the area around your putting green kit, you'll want to utilize some of the cut sod.
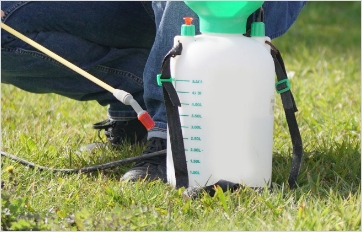
#4
If you find the area has a lot of weeds, use designated weed killer throughout the putting green kits area.
#5
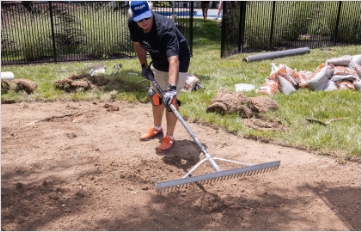
Use landscape rake and push broom to level low areas, smooth areas of sharp transition, and/or create desired contours. Compact area with plat compactor.
#6
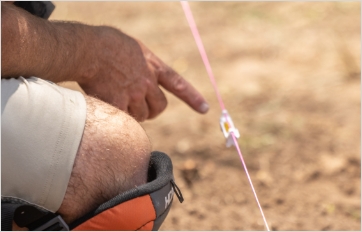
While compacting soil at this stage, be sure to measure slope to ensure no more then 3% grade.
#7
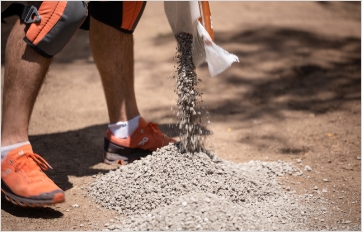
Start to cover area with compact aggregate over putting green kit area. Contour area as desired.
#8
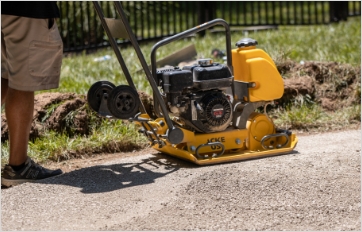
Compact the entire putting green kits area using the plate compactor.
Kit Base Installation
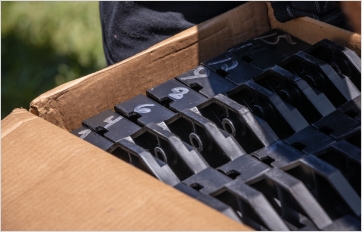
#1
Unpack all materials and stage close to prepared installation site. You’ll notice all materials are labels as show in the installation layout for the putting green kit.
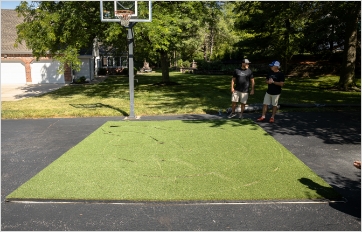
#2
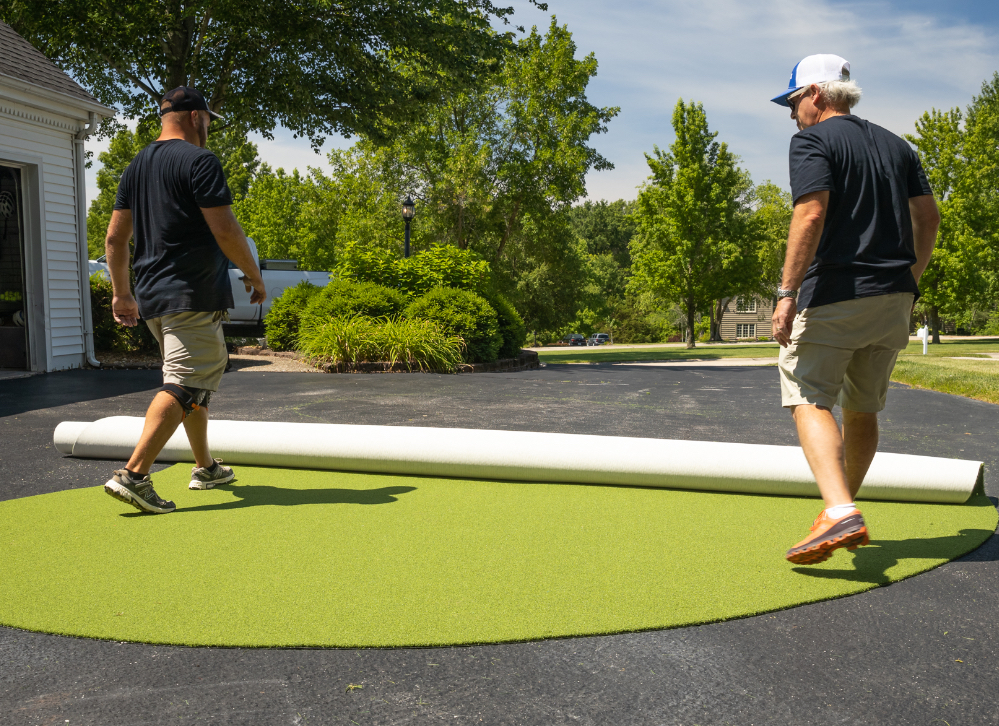
Unroll turf so it can relax - put in sun if possible.
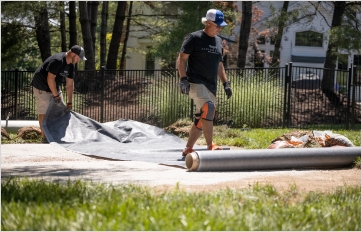
#3
Next you will roll out the geo-textile fabric over the compact aggregate.
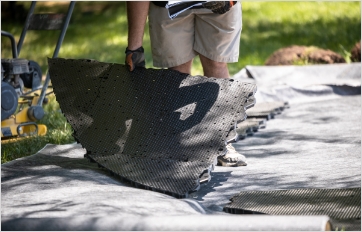
#4
Now it’s time to begin laying out your base panels. Begin with the out edges using the numbered pre-cut panels. It is recommended to wear knee pads and gloves at this stage of the installation.
#5
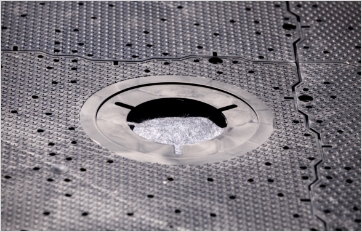
Depending on your kit style option, you’ll have a number of panels with pre-cut holes. Determine where you'd like to place your holes.
#6
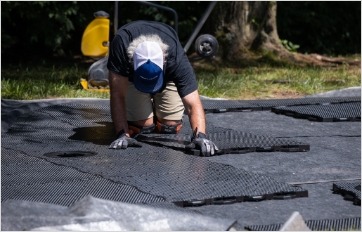
Begin to place center panels in approximate positions. Note the interior panels are full tiles and not labeled.
#7
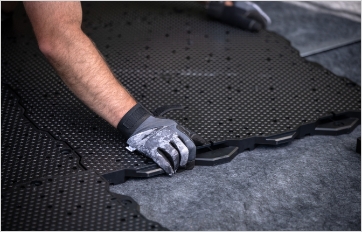
Begin to click together all base panels.
Site Preparation

Cup Assembly
Each kit comes with a designated number of cups. Each cup will come in a package with all materials needed to assemble the cup, along with the instructions on how to put together. You'll need a screwdriver to help with cup assembly.
#1
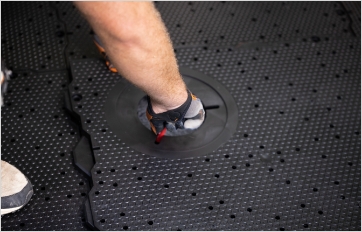
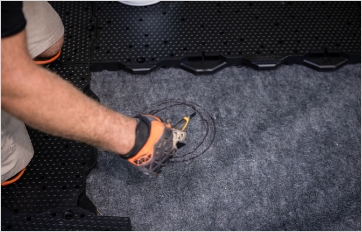
Once you've snapped together the base panel system. You will want to outline your whole locations using a permanent marker or pen.
#2
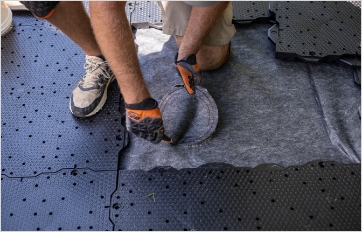
Remove the hole panel from the base system to show the marked off hole location. Also trace the larger opening of the cup hole sleeve over the marked outline.
#3
Cut through the geo-textile fabric using a utility knife along the outer marked edges of the cup hole sleeve lines.
#4
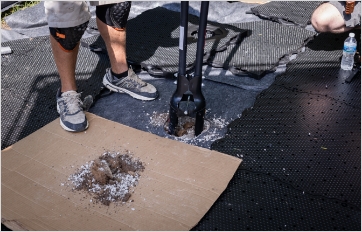
Using the post hole digger, you’ll dig a whole into the ground that will be approximately 8” in diameter and 8” deep. We recommend grabbing a piece of carboard or tarp to place the dug-up material onto, so you can easily remove later.
#5
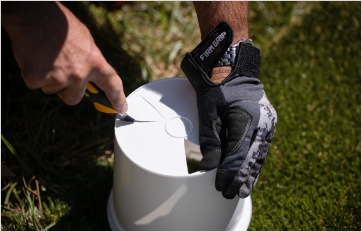
At this point you’ll want to take your cup hole sleeve (looks like a small bucket) and use a utility knife to cut 4 triangular holes at the button of the bucket to allow for drainage.
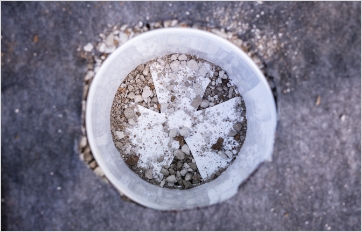
#6
Once your hole accessory has holes in the bottom, you'll place it in the hole to check for depth and fit. You’ll want to back-fill the hole with aggregate to so the sleeves bottom sits on top of the aggregate. You may need to remove the sleeve and fill several times to get just right.
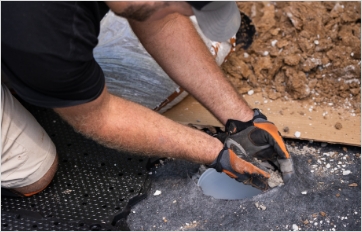
#7
Once you have the right fit, back fill with aggregate around the holes opening to secure sleeve in place.
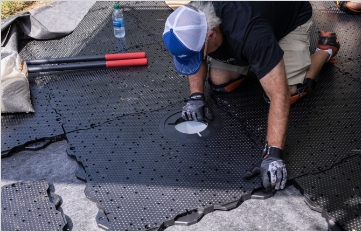
#8
After you've dug the holes and inserted the cup sleeves, click the base panels back into place to being installing cup hole.
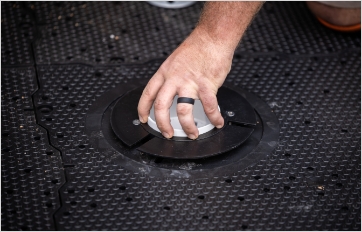
#9
After cup kit has been assembled, wiggle cup kit into place until securely fastened.
#10
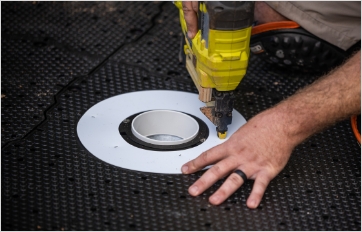
Place designated Deck Washer over whole and using the staple gun staple the deck washer to the cup kit with 5-6 staples around the deck washer.
Kit Turf Installation
#1
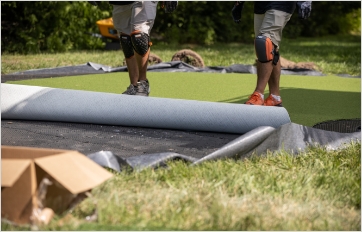
Now it's time to roll out your pre-cut putting turf onto the base panel. Be sure to leave 16-18” from the panel edge. This additional space will be for the fringe turf.
#2
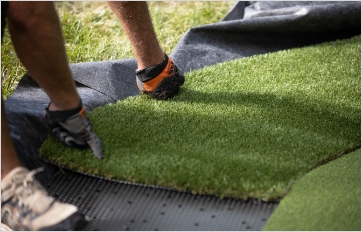
Next layout the pre-cut fringe turf. Use the installation layout image to place the panels around the putting turf according to corresponding numbers on back of fringe turf. Approximately 3” of the fringe turf should hang out the panel edge.
#3
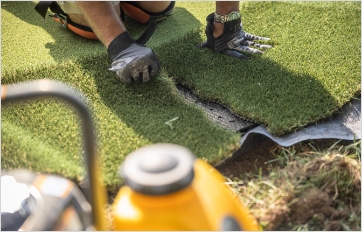
At this point you'll want to fit all fringe seams together. There will be overlap, to which you will need to use your utility knife to cut the fringe turf so the seams line up.

#4
Once the putting turf and fringe turf is aligned together on the base system, you'll use the staple gun to secure the fringe turf in place around the edges of the putting green turf. Along with stapling either side of the seam edge on the fringe turf. (Note: for temporary installation, use double side carpet tape).
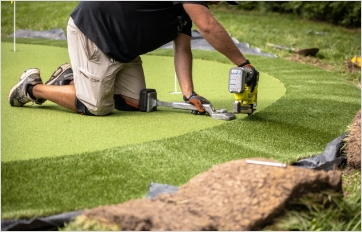
#5
Next you will utilize the carpet kicker to smooth out the putting green turf staple the edges of the putting green turf into the base panels. Once the entire perimeter of the putting green turf is secure, also secure the middle with a few strategically spaced-out staples. (Note: for temporary installation, use double side carpet tape.)
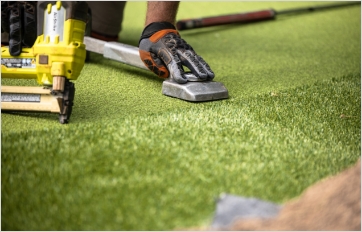
#6
After securing the putting turf, staple where the putting turf meets the fringe turf.
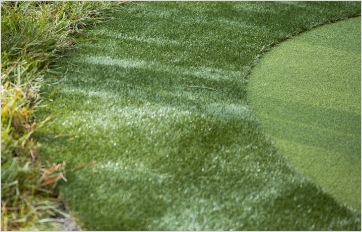
#7
Blend the seams of the fringe by using a seam roller. This will give the green a more finished and natural look.
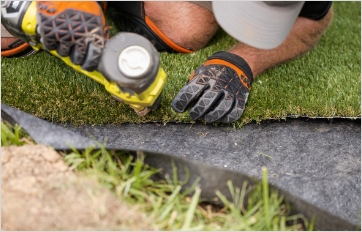
#8
Next wrap the overlapping fringe on the panel edges underneath the panels and staple. OR backfill underneath overlapping fringe with aggregate up to the panel edge and let the fringe lay on top of the aggregate.
#9
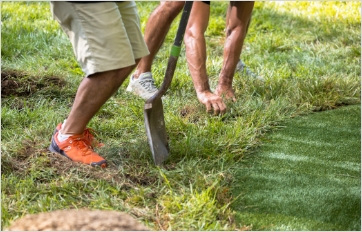
At this point, depending on how you want the finished outer edges of your turf to look, you can use the left-over sod you cut from earlier in the project to cover outer edges of the putting green. Or use decorative landscaping stones to outline the putting green system.
#10
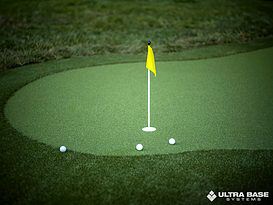
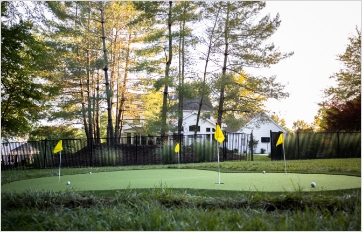
The final step is to cut the putting green turf for the holes. Start by piercing the whole in the middle, then cutting an X towards the outer edges of the cup. Cut the outside radius of the hole by using the outside of the cups edge as a guide, slow & steady. Finally, place your flags in the holes and start practicing your putting skills on your new XGrass Series Putting Green Kit.
Get Started with Ultra Base Today
Talk to an Ultra Base team member today to discuss your project, application, and pricing options. Our experienced team will ensure you're choosing the right Ultra Base product for your application.

